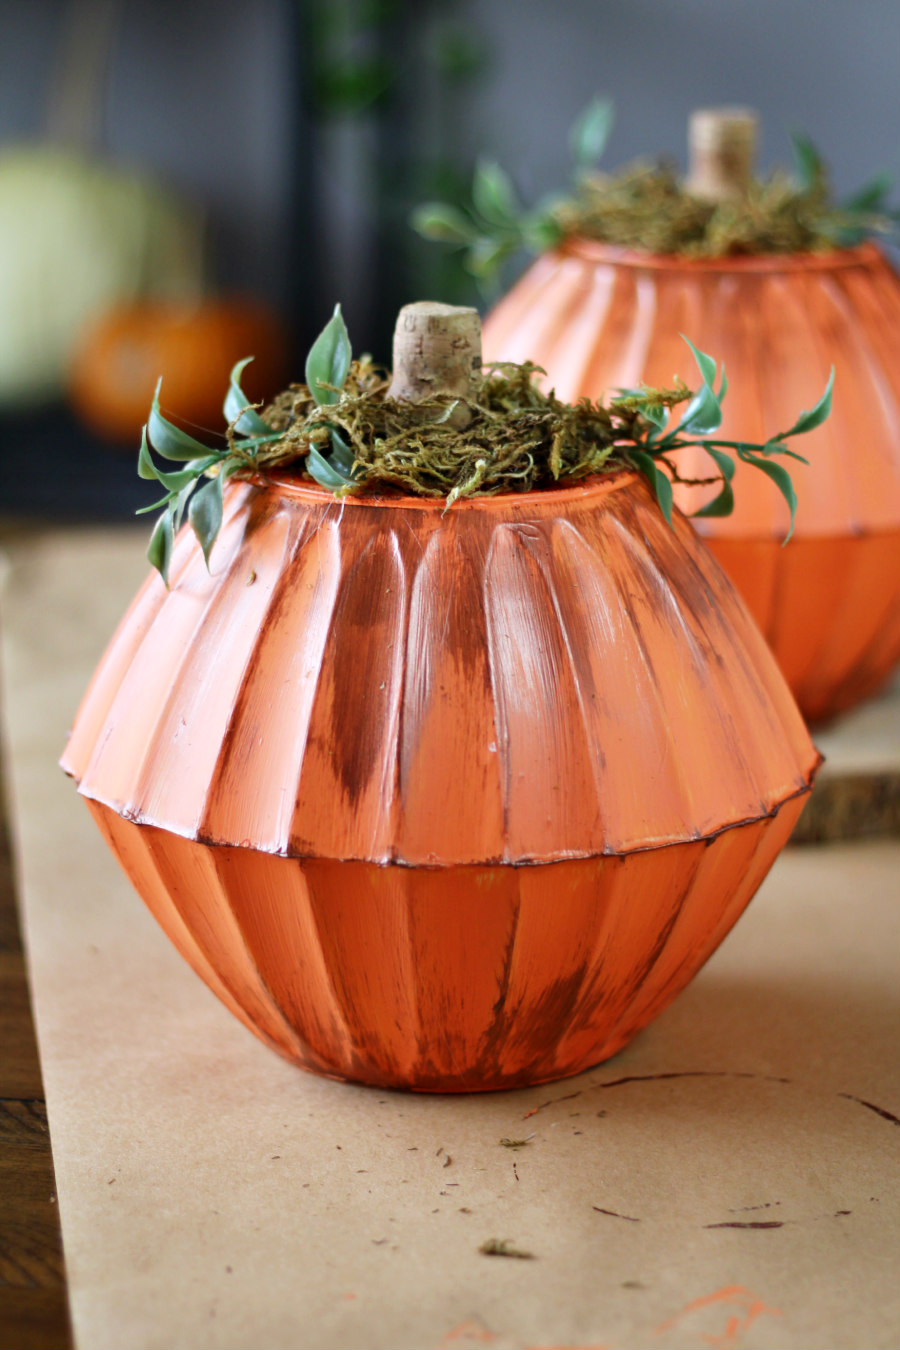
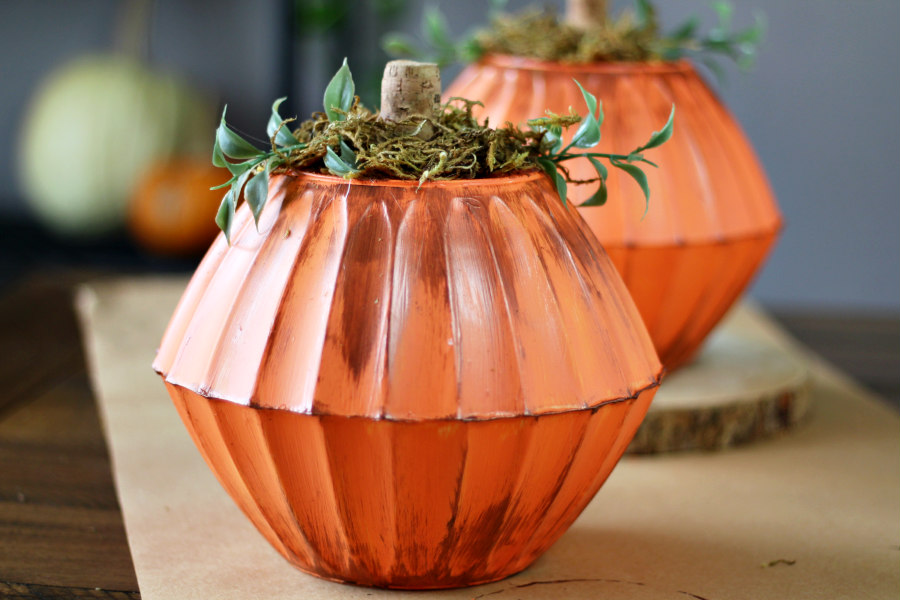
If you're looking for budget-friendly Thanksgiving decor, turn two dollar store bowls into an adorable little pumpkin! Attach two plastic bowls together, paint them orange, and decorate with a wine cork, moss, and greenery for an easy fall decoration.
This post may contain affiliate links. Making a purchase through one of these links helps support this blog.
Once the calendar turns to November 1st, are you the type of person who immediately switches into Christmas mode? Or do you savor the fall season a little bit longer? In our house, we take our time and let the holiday season trickle its way in. I change out my Halloween decorations for fall, displaying cornucopia baskets, turkeys, fall foliage, and pumpkins. I like to hold onto pumpkin-everything-season while I can and decorate almost every room of the house with those gorgeous gourds!
Eventually, as we get closer to Thanksgiving, our home decor will include a crazy mix of pumpkins, Christmas trees, ribbons, and lights before changing over fully into holiday mode the day after Thanksgiving. Since I'm still hanging out to my pumpkins for at least a couple more weeks, I decided to make some new pumpkin decor inspired by a Christmas dollar store craft I made last year.
The DIY project turns two plastic dollar store bowls into oversized, vintage-inspired ornaments. I figured that the shape of the bowls would also work to make cute pumpkin decor. So I attached two bowls together with glue, painted them orange, and distressed them a bit just to give them that cozy, vintage feel. Then, I added a wine cork stem on top along with some moss and faux greenery to complete the look.
Dollar Store Bowl Pumpkins
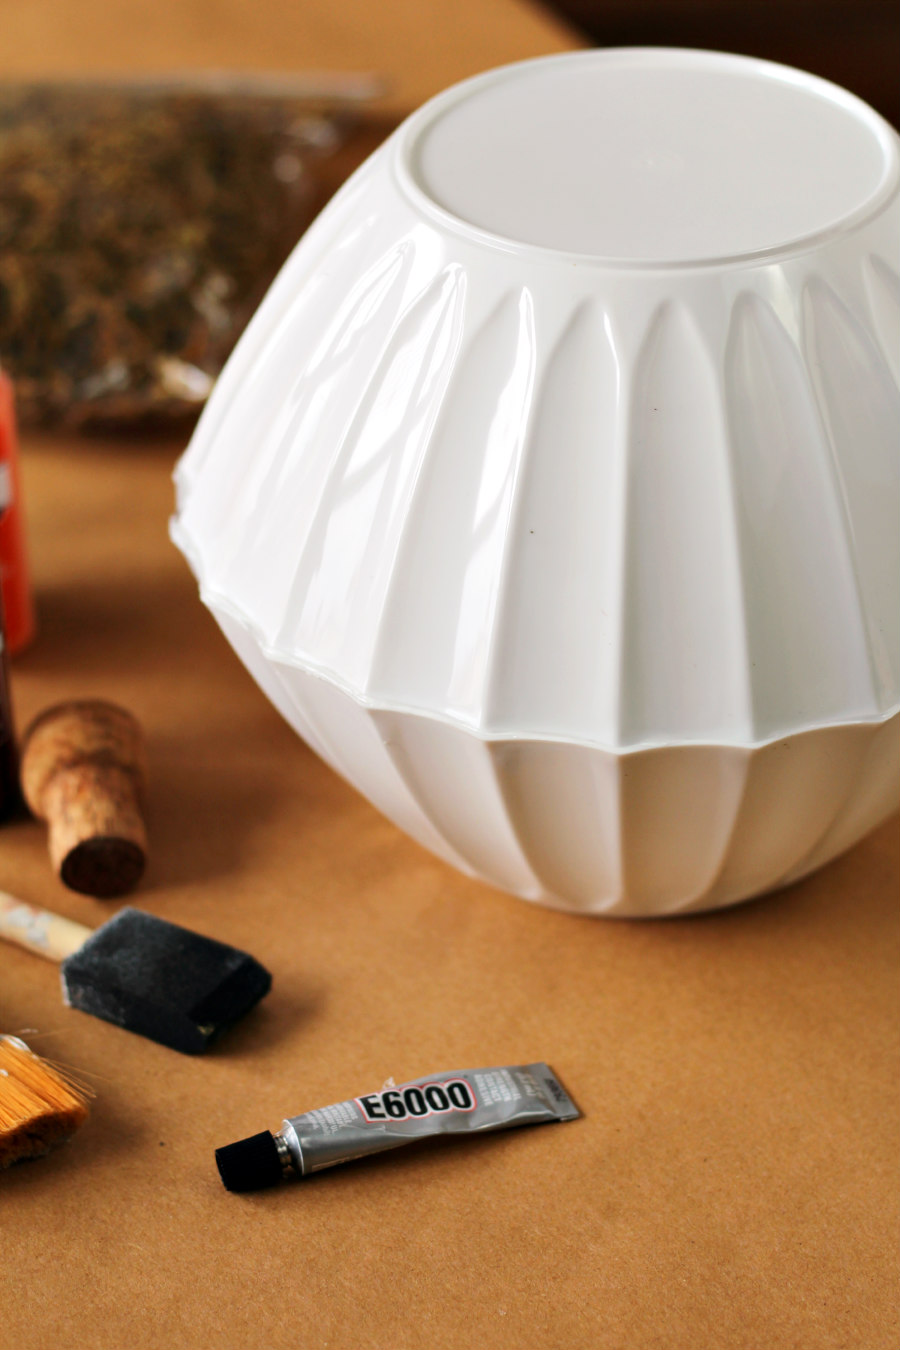
I had made the ornaments with clear plastic bowls and had to paint a base coat. For this pumpkin project, I found the same bowls I used for the ornaments, but in white. So I was able to go ahead and give them a couple coats of orange right from the start. If your dollar store doesn't have the white bowls, you'll want to paint a white base coat. That way you won't have to paint as many coats of orange.
To start this project, we need to attach our bowls. Add glue around the top of one bowl and place the top of the other down on it to create the pumpkin shape. This will also make it easier to paint the bowls.
Once the glue dries, paint your pumpkins orange. Allow the paint to dry between coats.
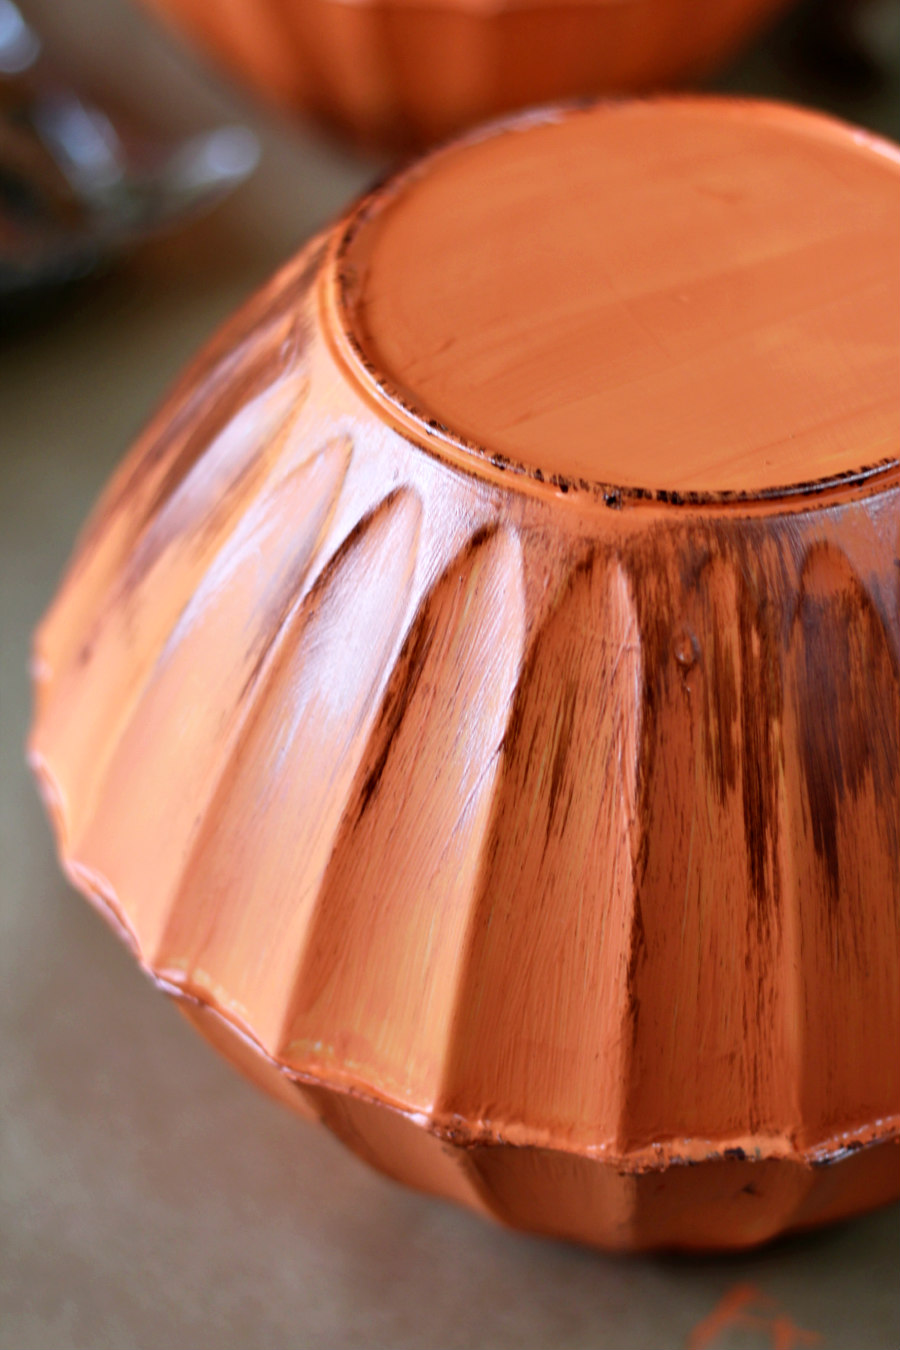
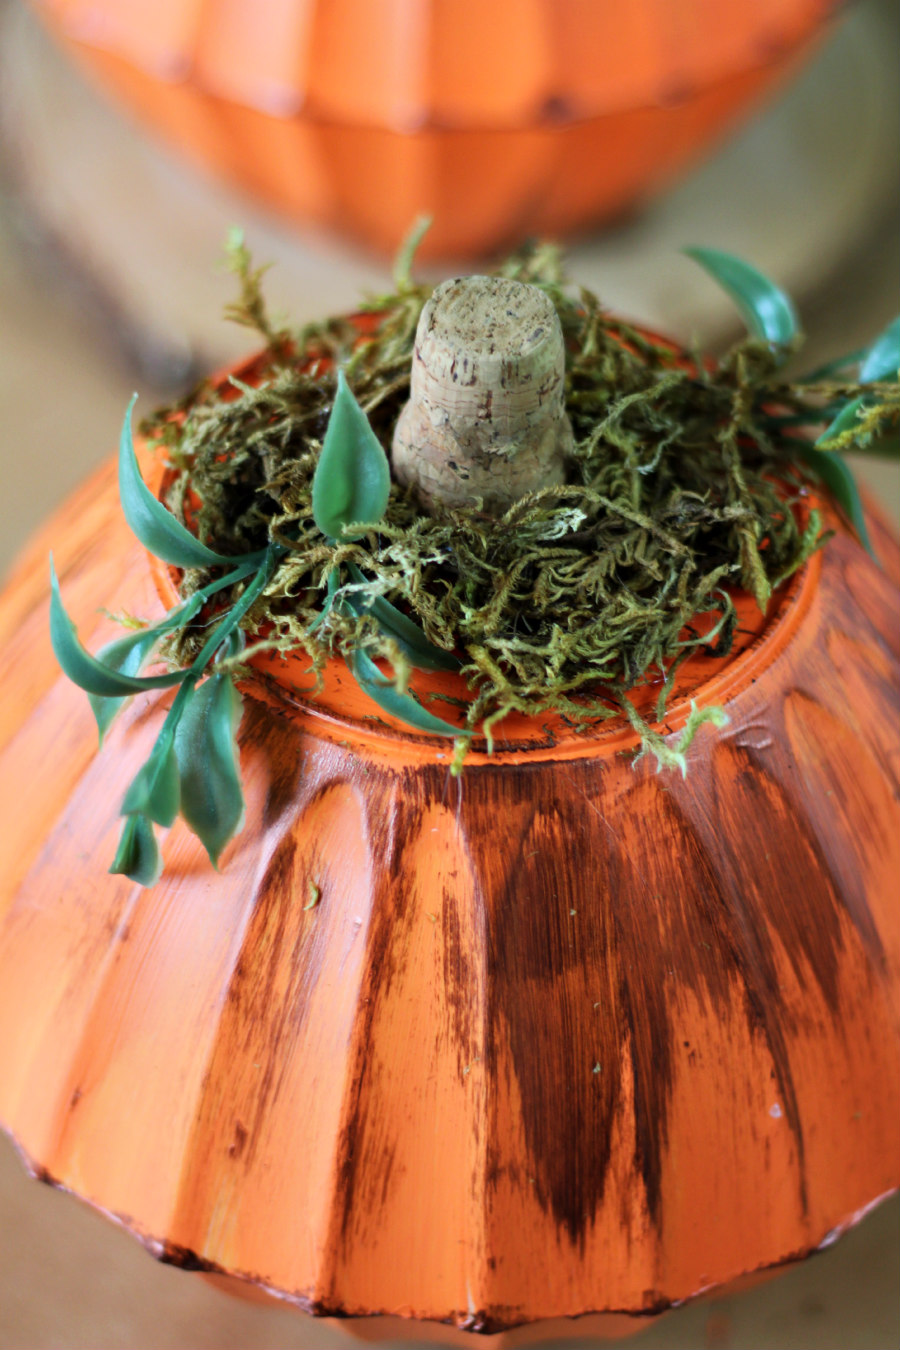
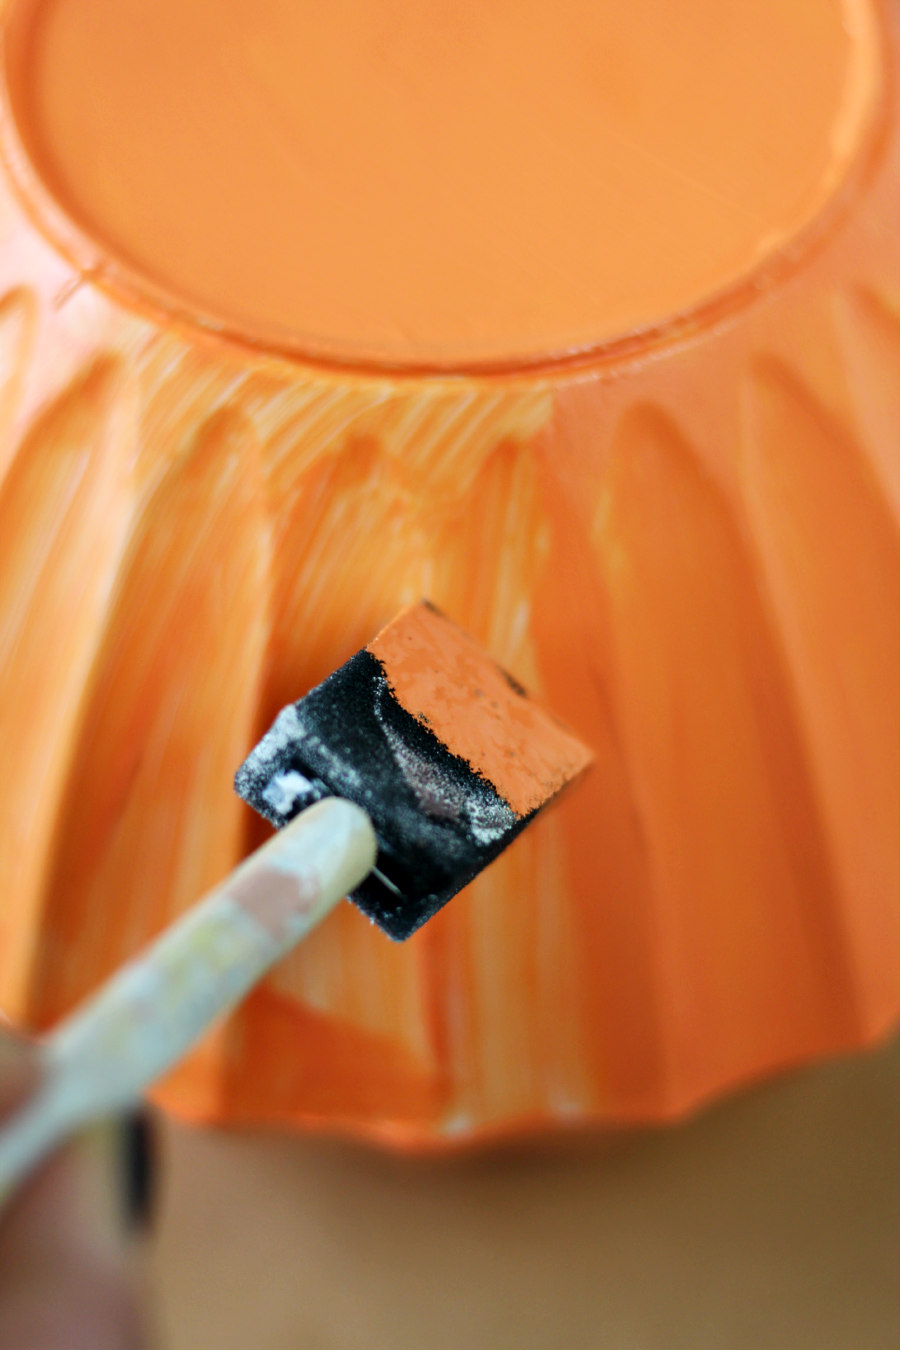
If desired, dry brush antique copper or brown paint around the raised edges to give the pumpkins a vintage, distressed look. Then, allow that paint to dry.
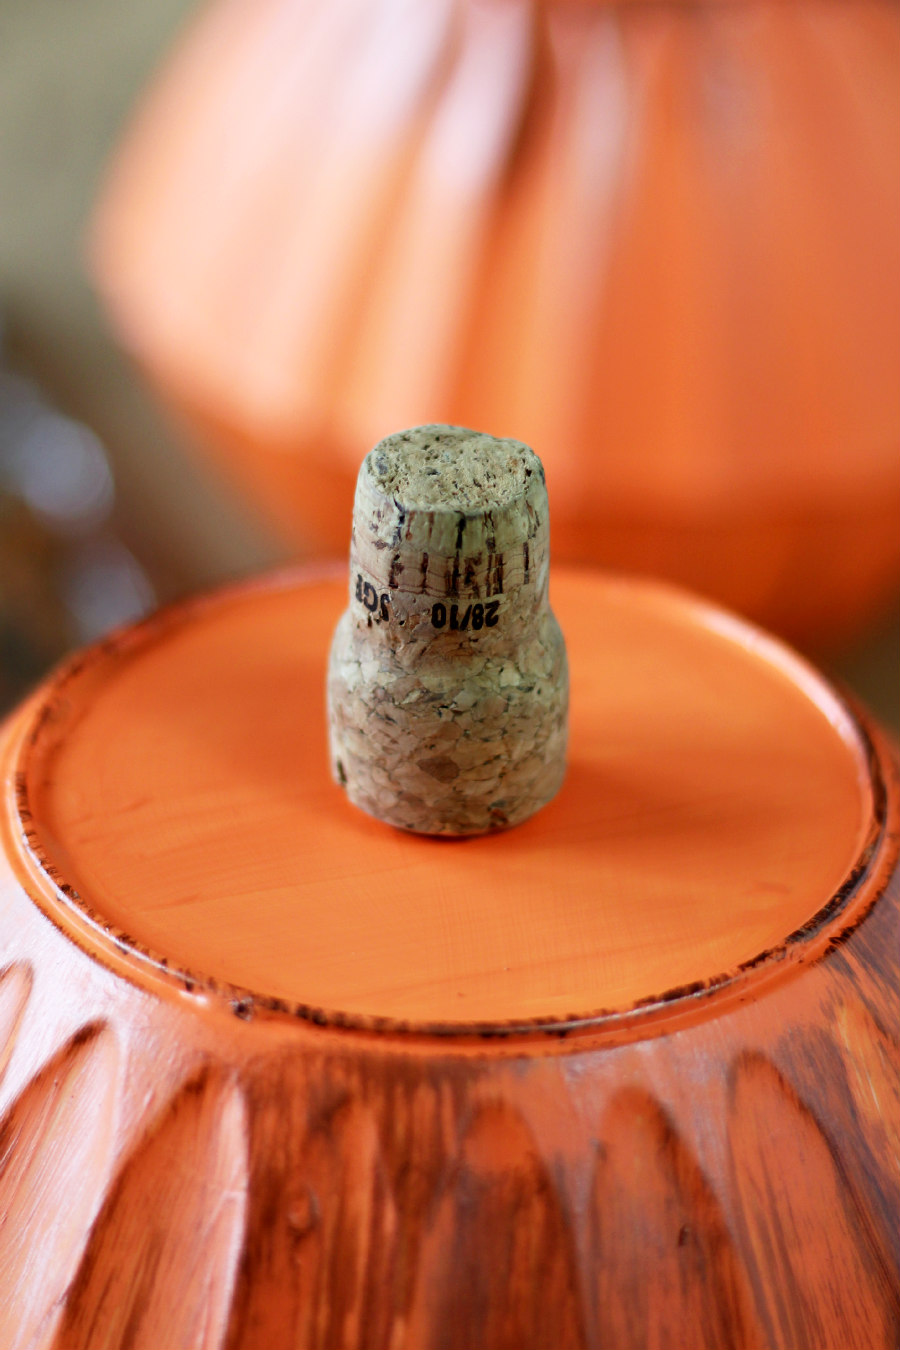
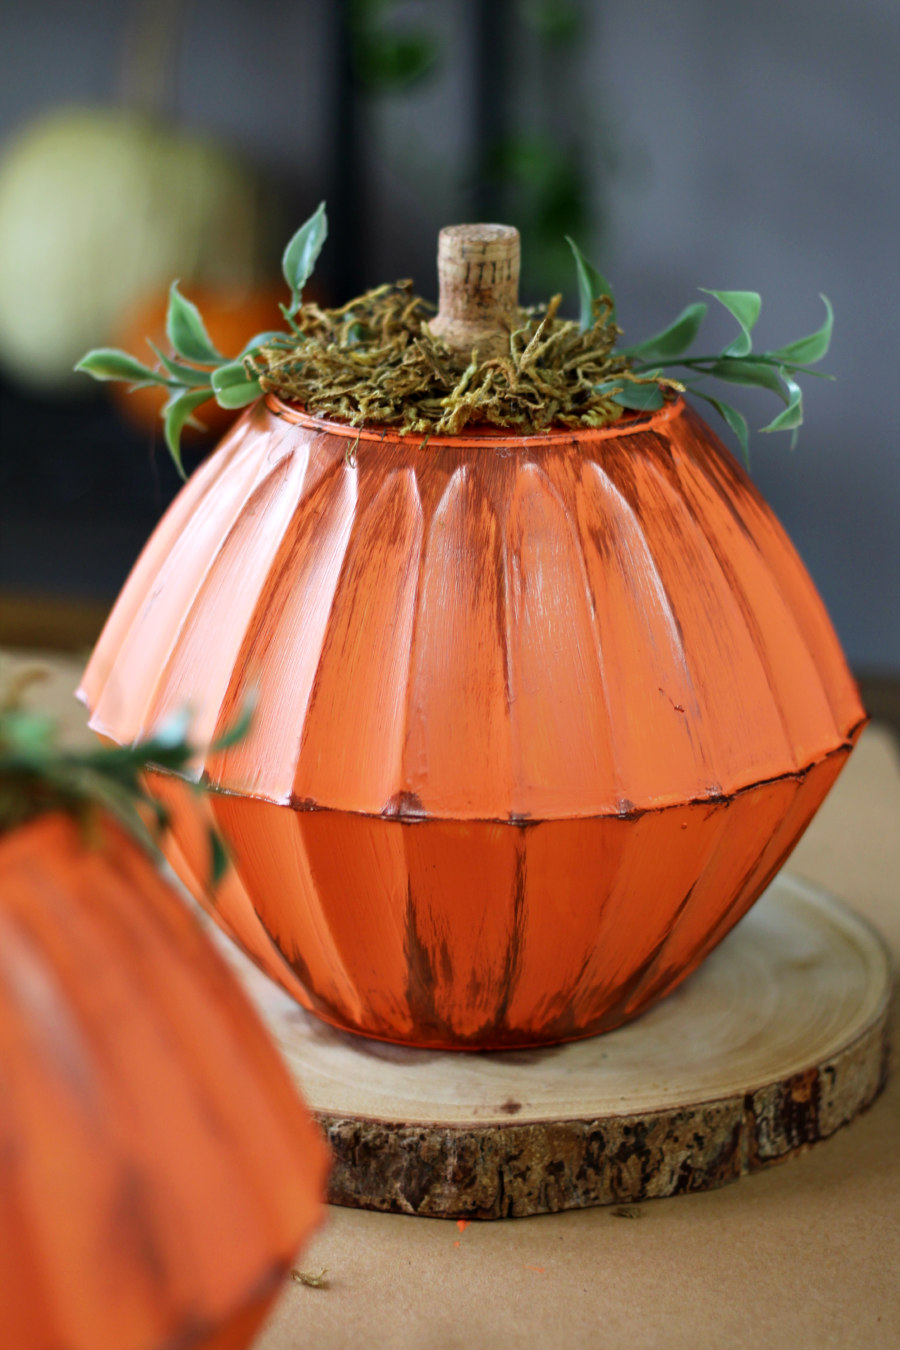
Once the paint has fully dried, we can glue a wine cork to the center of the pumpkin. If you'd like, you can paint the cork brown. I decided to keep it natural.
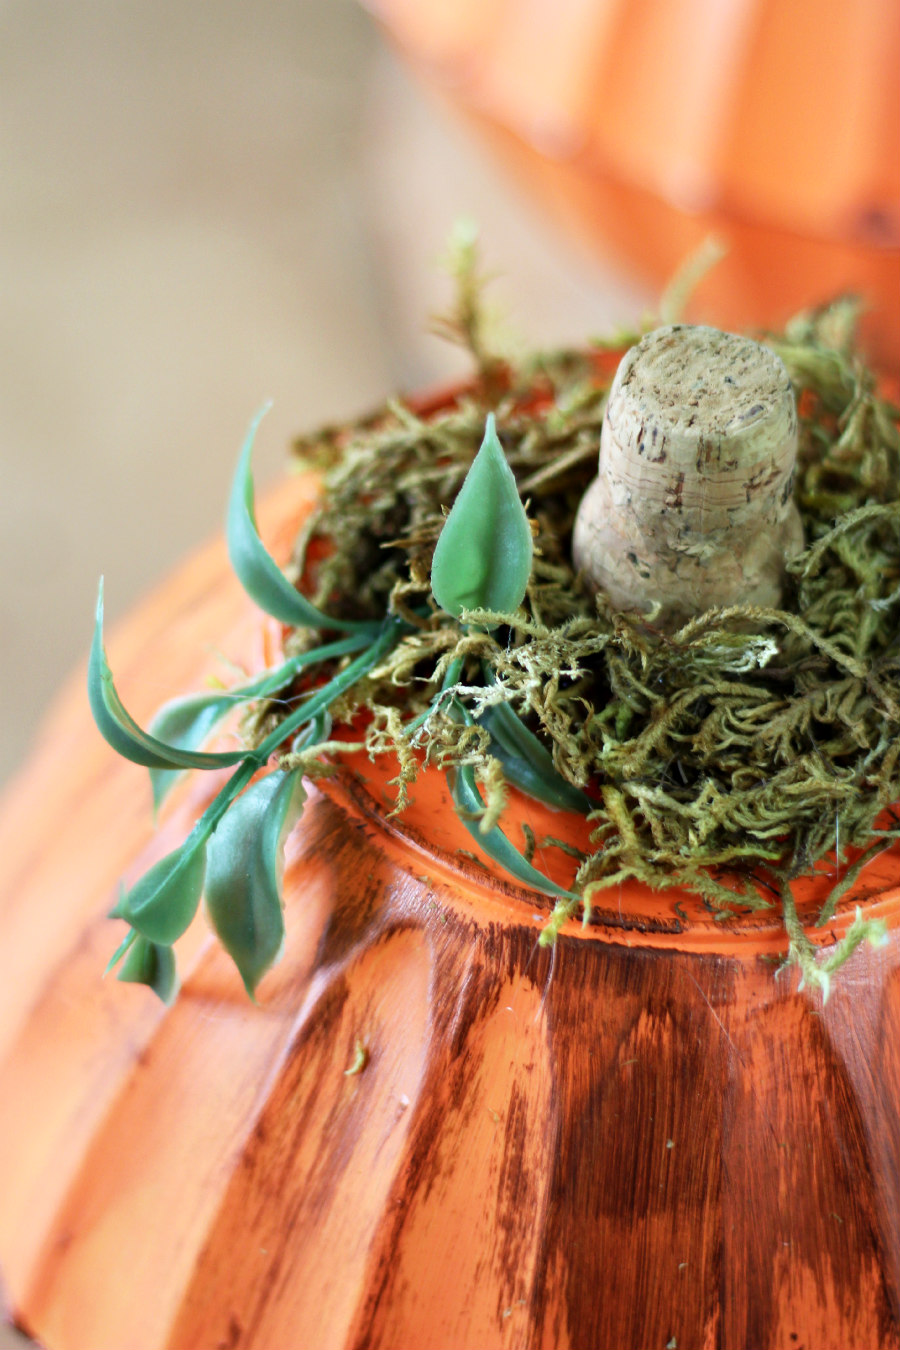
After attaching the cork, glue moss and faux leaves around the base of the cork.
Give the glue a chance to dry and then display your pumpkins!
SUPPLIES
- 2 - Dollar Tree Caterer's Corner White Wavy Plastic Bowls
- Hot glue gun, or E6000 glue
- Orange acrylic paint (could also paint them green or yellow)
- Optional: antique copper acrylic paint
- Paint brushes, or foam brushes
- Wine cork
- Preserved moss
- Faux greenery/leaves
STEPS
- Heat a glue gun, if using, and glue around the open edge of one bowl. Place the other bowl on top and allow glue to fully dry.
- Once glue is dry, paint bowls orange (or desired color). Allow paint to dry between coats.
- If desired, dry brush antique copper paint onto the edges to create a distressed look. Allow paint to dry.
- Glue the wine cork onto the top of the bowl to create a stem.
- Then, glue moss and greenery around the base of the cork.
- Let glue fully dry, then display.
So if you're not quite ready for holiday decorations and still want to hold onto pumpkin season a little while longer, this pumpkin project is cheap, easy, and will look adorable among your Thanksgiving decor. Especially if you're like me and love decorations with a vintage feel!
Did you make this Dollar Store Bowl Pumpkins project? Share it on social media using the hashtag #holokahome. Don’t forget to tag me @holokahome!