Create a whimsical fairy house inspired bee bath out of a terracotta pot and saucer, miniatures, and paint. This adorable bath will keep bees happy all summer long!
This post may contain affiliate links. Making a purchase through one of these links helps support this blog.

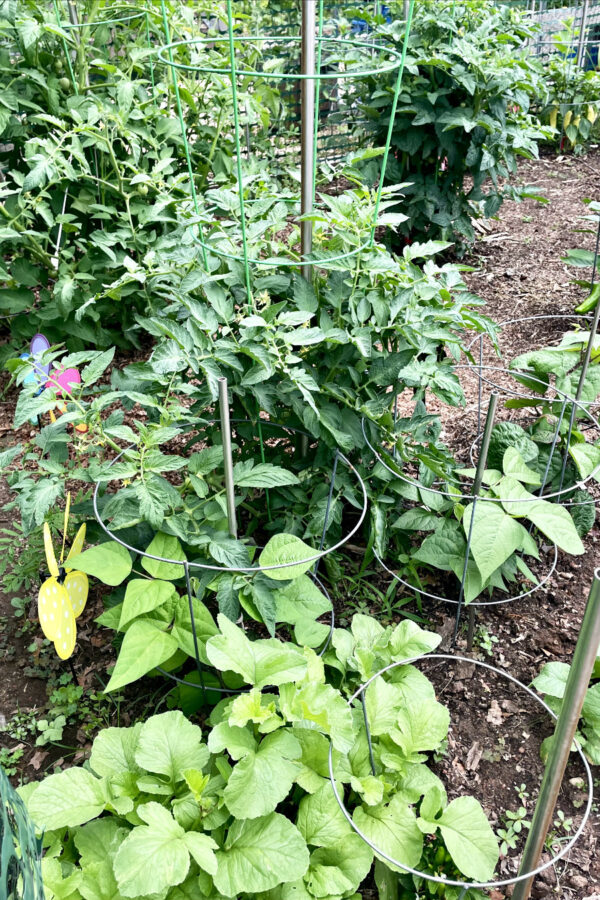
Our backyard is turning into a magical place. Along with our vegetable garden extension, we've let our wild raspberry and blackberry bushes grow like crazy underneath our deck.
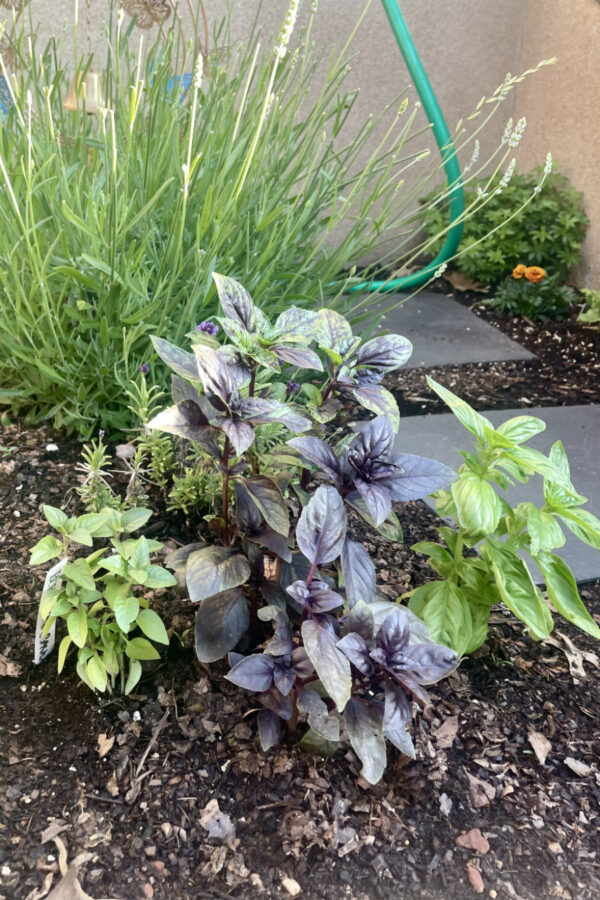
We've planted a combination of sunflowers and moonflowers along one side of our deck. And thanks to my Etsy shop, I have planters and pots all over the place filled with a variety of different flowers and herbs.
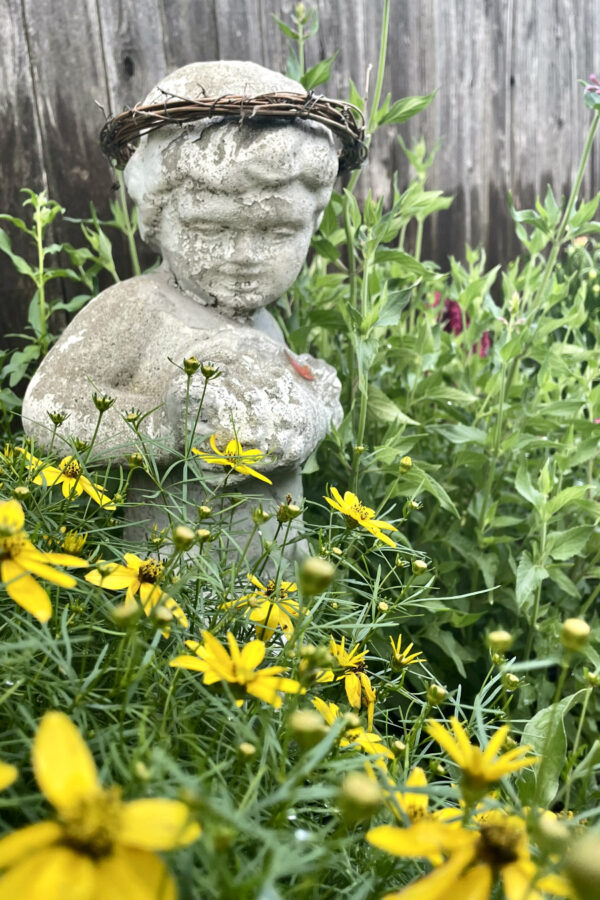
And we haven't forgotten about our wild backyard friends! We've built a couple of new birdhouses, planted plenty of pollinator flowers, put up insect hotels, and bought a new bird bath that now sits between two small oak trees.

Last year, I made a simple bee bath to keep our bees and butterflies happy. But with so much going on in our yard now, I wanted to make another bee bath to place among our flowering plants. So I created a new bee bath using a terracotta pot and saucer and inspiration from my Fairy House Garden Stakes.
I cleaned up a terracotta pot and saucer that I already had on hand. And using the same style as my garden stakes, I painted the pot and saucer to look like a house. Then, I glued a miniature fairy and snail to the saucer, filled it with rocks and water, and set it in a shady area of our yard.


Terracotta Fairy House Bee Bath
This super easy project would be fun to make with kids. If you have a cottage garden, it would look adorable set among your flowers. No matter what magic you're creating in your yard this summer, this bee bath will keep your bees and butterflies happy and cool!

The first thing we need to do to put our bee bath together is paint. Flip the terracotta saucer over and paint it your color of choice. Only paint the underside so the bath stays safe for bees.

Use brown paint to paint a door. Then, use yellow to paint circles on each side of the door for windows. Once these details are dry, use a gold paint pen to make a doorknob. Then, frame the windows with black marker.
Since I didn't use outdoor paint, I wanted to make sure my paint was sealed. So I sprayed just the painted portions of the pot and saucer with clear spray paint.


Once the paint was dry, I used super glue to glue the saucer to the pot. Then, I added an extra special touch to my fairy inspired bee bath and glued fairy and snail miniatures to the saucer. Not only do they look cute, they give insects a dry place to land.

When everything was good and ready, I placed the bath outside in a shady area near our raspberry bushes. Then, I filled the bath with rocks. At the last minute, I took some blue glass marbles and scattered them in the bath (apparently bees are attracted to the color).

Lastly, I filled the bath with water. Fill it just enough so the bees can safely land in the bath.

SUPPLIES
- 6-8 inch terracotta pot and saucer
- Super glue
- Acrylic paint, or outdoor acrylic paint
- Foam brushes
- Gold paint pen
- Black paint marker, or Sharpie
- Clear spray paint
- Fairy garden miniatures
- Rocks and/or decorative glass marbles
STEPS
- Flip the terracotta saucer over and paint it with your desired acrylic paint color. You may need to do 2-3 coats to cover. Then, use brown paint to paint a door and yellow paint to paint windows on each side. Allow paint to dry.
- Use a gold paint pen to make a doorknob. Use the black marker to frame each window.
- If desired, use clear spray paint to seal only the painted areas of the terracotta pot and saucer. Allow to dry.
- Use super glue to glue the saucer and pot together to form the bee bath. Allow glue to dry.
- Glue a couple fairy garden miniatures in the bath to really enhance the enchanted feel of the bee bath.
- Once glue is completely dry, place the bath in a shady area of the yard or garden. Fill bath with rocks, decorative marbles, and water. Don't cover the rocks completely with water. Make sure bees and butterflies have safe places to land.

I like to place my bee baths were I know bees frequent - so near our bleeding hearts where they're always buzzing and our one area of the deck where our berries grow.
During the hot summer months, I clean the bath at least once a week. You might notice the water will evaporate quickly in its shallow dish so make sure to refill it, as necessary.
Did you make this Terracotta Fairy House Bee Bath project? Share it on social media using the hashtag #holokahome. Don’t forget to tag me @holokahome!